DIY Cabinet Knob Installation: A Step-by-Step Guide


Updating your cabinet knobs is a simple yet impactful DIY project that can transform the look of your kitchen or bathroom. Whether you're replacing old knobs or installing new ones, this step-by-step guide will help you achieve a professional finish.
Gather Your Tools and Materials
Before you begin, make sure you have all the necessary tools and materials. Here's what you'll need:
- Cabinet knobs
- Screwdriver
- Drill with a drill bit (if new holes are needed)
- Measuring tape or ruler
- Masking tape
- Pencil or marker
Having everything on hand will make the installation process smoother and faster.
Remove Old Knobs
If you're replacing old knobs, start by removing them. Use a screwdriver to carefully unscrew each knob from the inside of the cabinet or drawer. Keep these screws; they may come in handy later if the new knobs don't come with their own.
Once removed, clean the surface area where the knob was attached. This ensures that dirt and debris won't interfere with the new installation.
Mark the Drill Points
If you're installing knobs on a new cabinet or drawer, you'll need to mark where to drill the holes. Use a measuring tape to find the center of the cabinet door or drawer. Mark this spot with a pencil or marker.
To avoid splintering, apply a small piece of masking tape over the marking before drilling. This simple trick can help achieve cleaner holes.
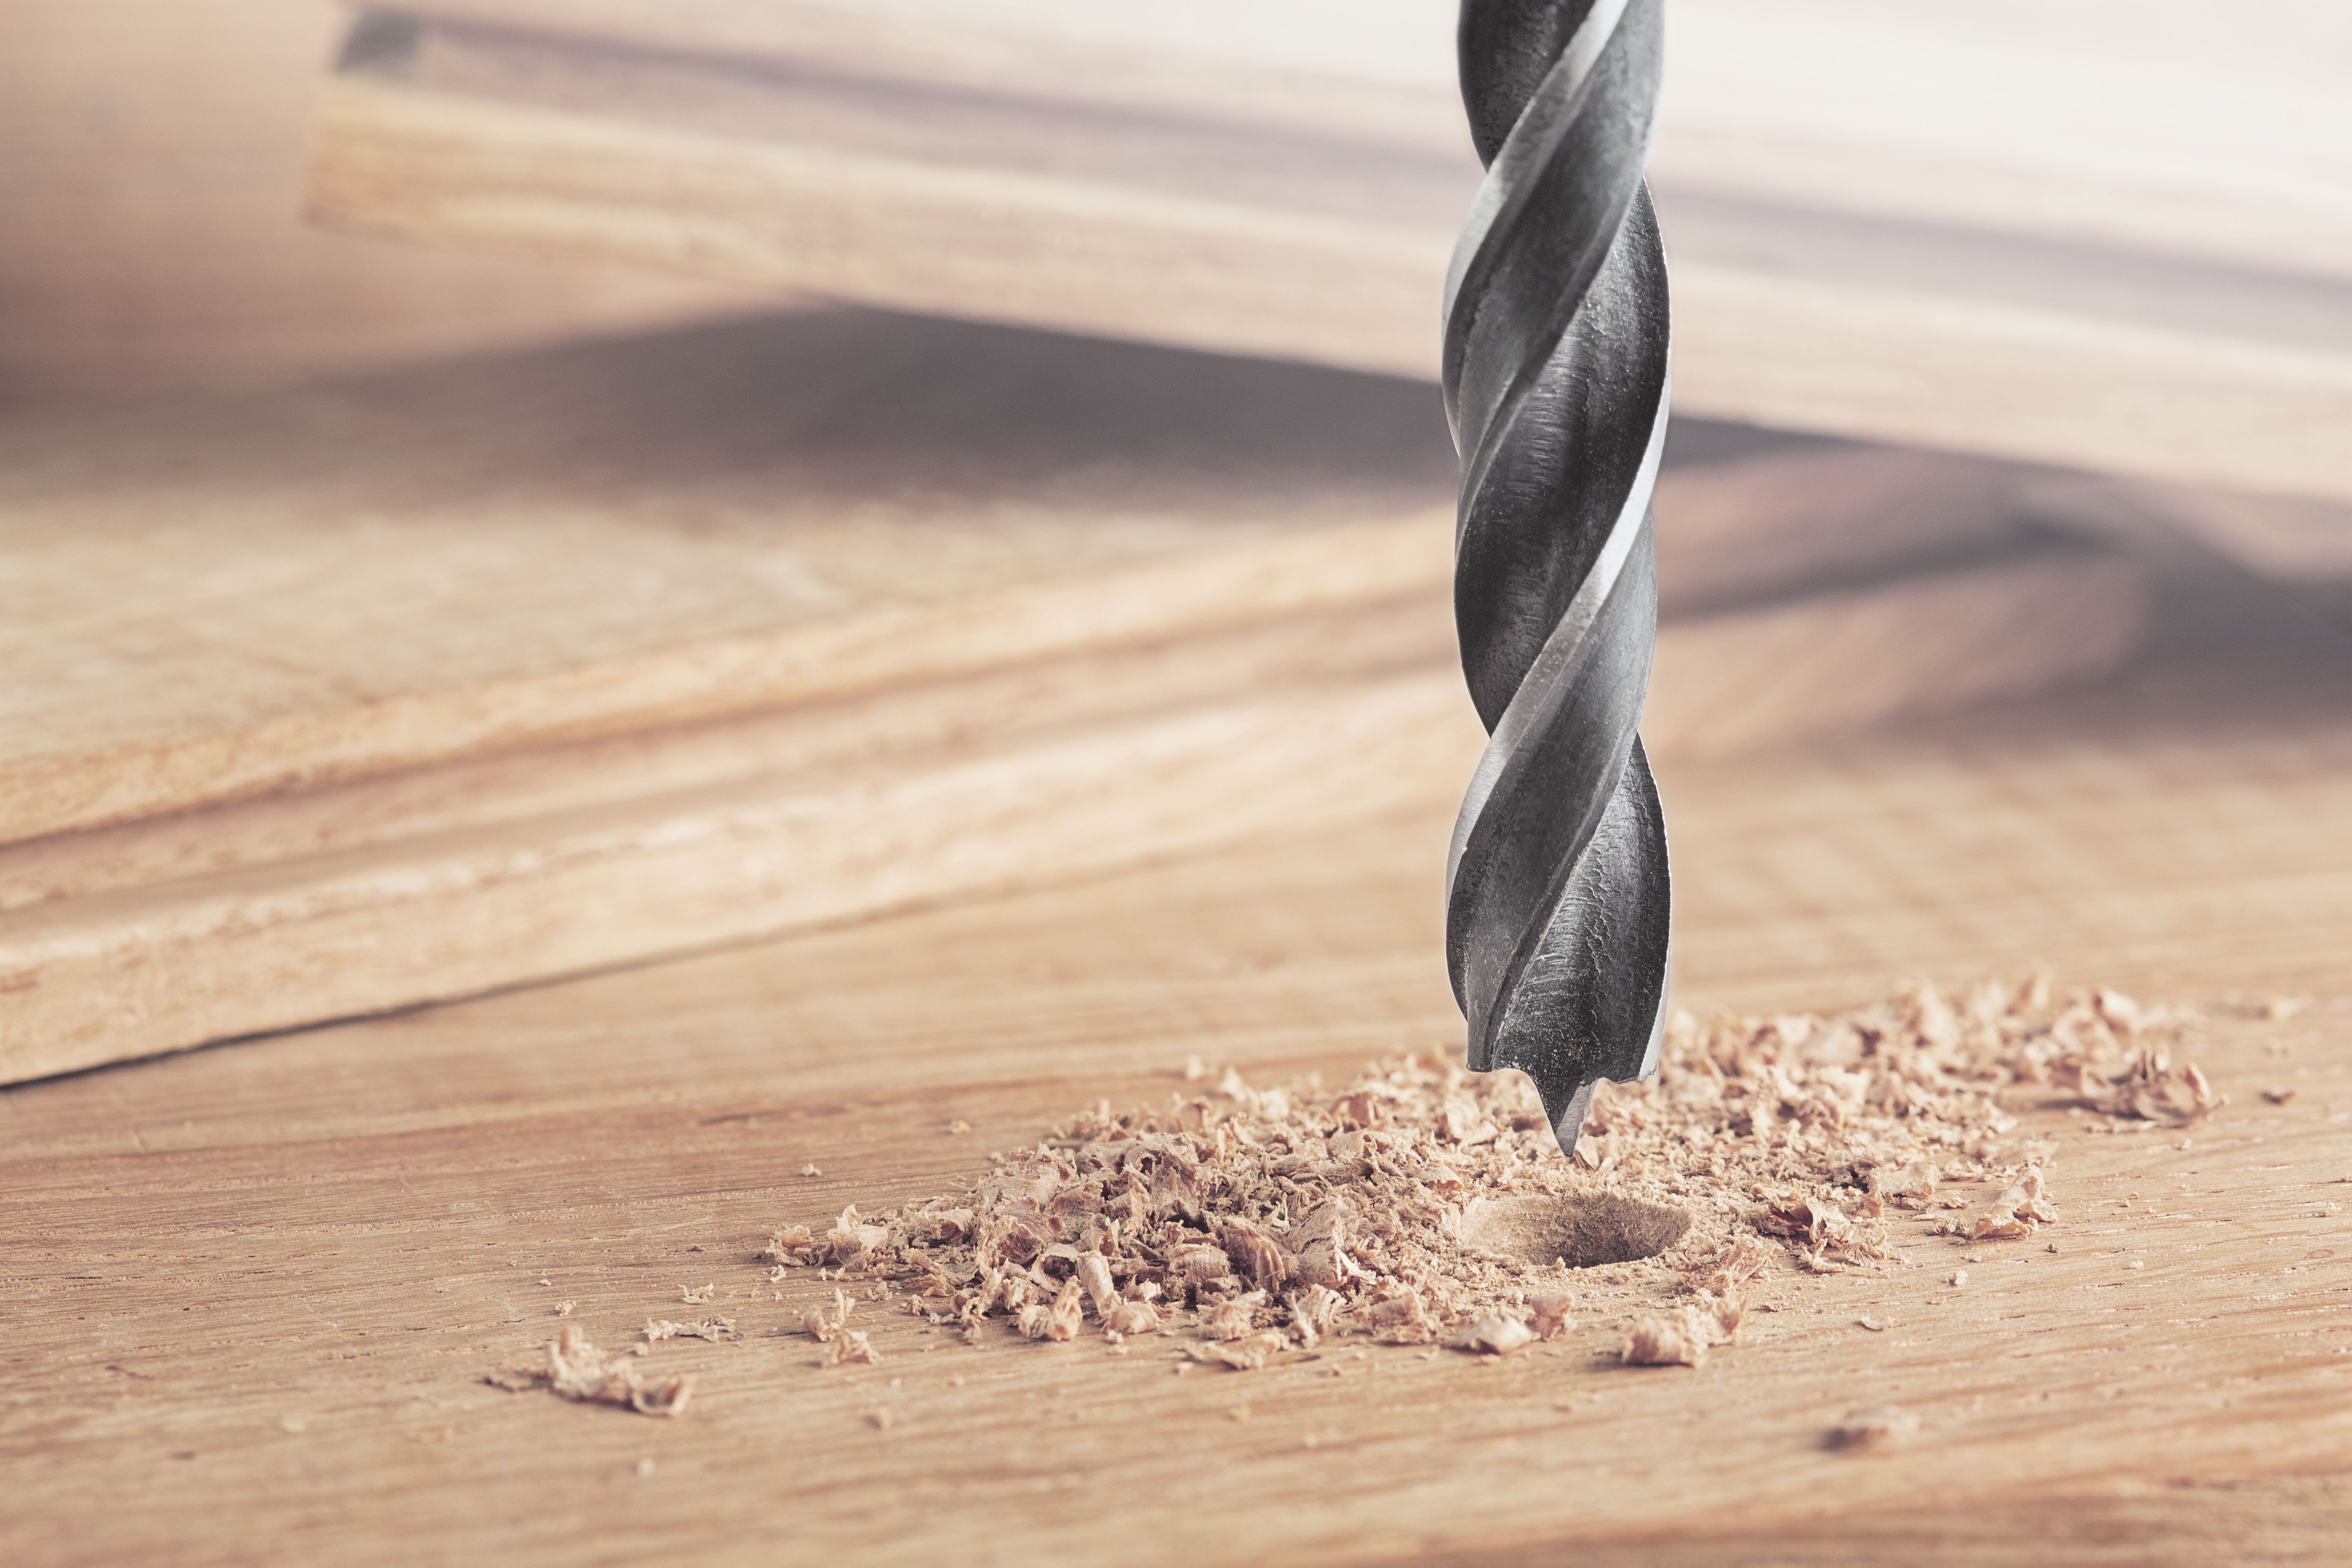
Drill the Holes
With your drill and appropriate drill bit, carefully drill into the marked spots. Ensure your drill bit matches the size of the knob's screw for a snug fit. If you're unsure, it's better to start with a smaller bit and gradually increase until you achieve the desired size.
Always drill straight into the surface to prevent angled holes that can affect knob alignment.
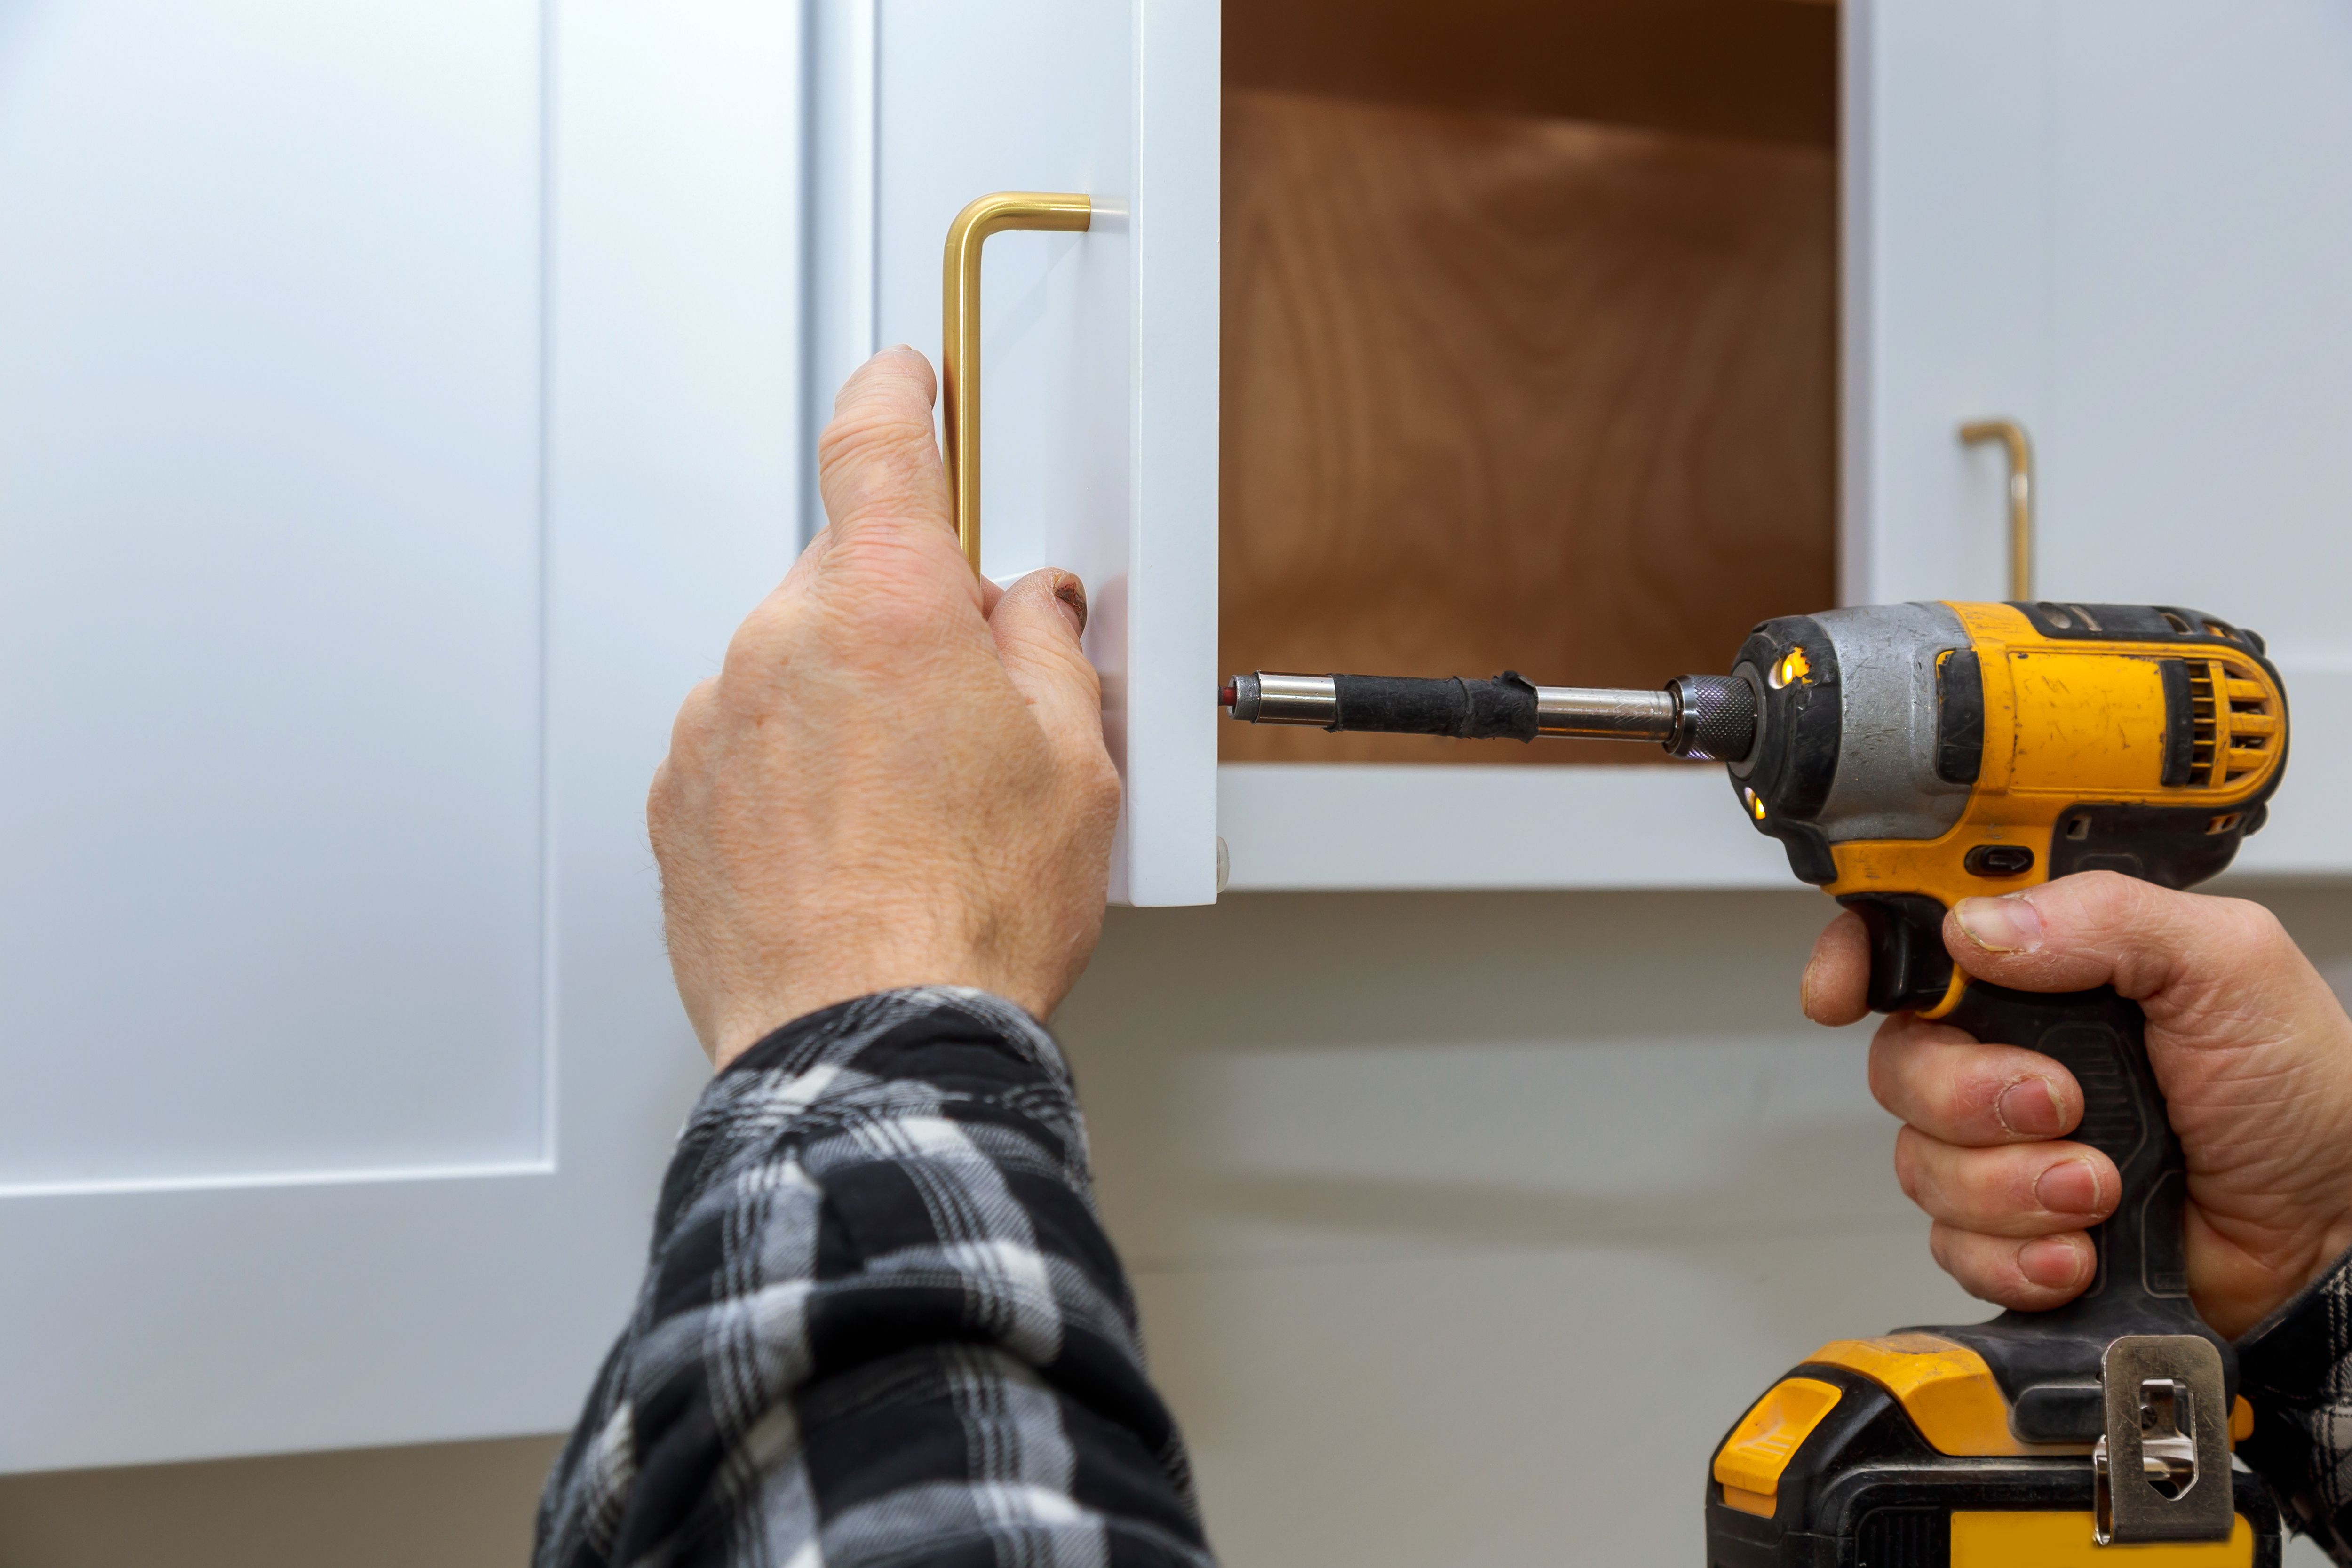
Install the New Knobs
Now it's time to attach your new cabinet knobs. Insert the screw through the hole from the inside of the cabinet or drawer and twist the knob onto it from the outside. Use a screwdriver to tighten it firmly but avoid over-tightening, which could damage the cabinet surface.
Final Adjustments
Once all knobs are installed, stand back and check for alignment. Ensure they are evenly spaced and aligned both horizontally and vertically. If any knobs seem off, loosen them slightly, adjust their position, and retighten.
This final step ensures that your cabinets not only look great but function smoothly as well.
Wrap-Up
Congratulations! You've successfully installed your cabinet knobs, giving your space a fresh, updated look. This simple DIY project can be completed in just a few hours but makes a lasting impact on your home's aesthetic.
If you're inspired to take on more DIY projects, consider updating other hardware in your home for a cohesive design theme. Happy DIY-ing!