DIY Guide: Installing Interior Hardware Like a Pro


Getting Started with Interior Hardware Installation
Installing interior hardware can seem daunting, but with the right tools and guidance, you can achieve professional results in no time. Whether you're updating door handles, cabinet knobs, or drawer pulls, this DIY guide will walk you through the process step-by-step.
Gather Your Tools and Materials
Before you begin, make sure you have all the necessary tools and materials. Here’s a checklist to get you started:
- Screwdriver (Phillips and flathead)
- Measuring tape
- Drill and drill bits
- Level
- Pencil
- Template (if provided with the hardware)
Having these tools on hand will ensure a smooth installation process.
Preparing for Installation
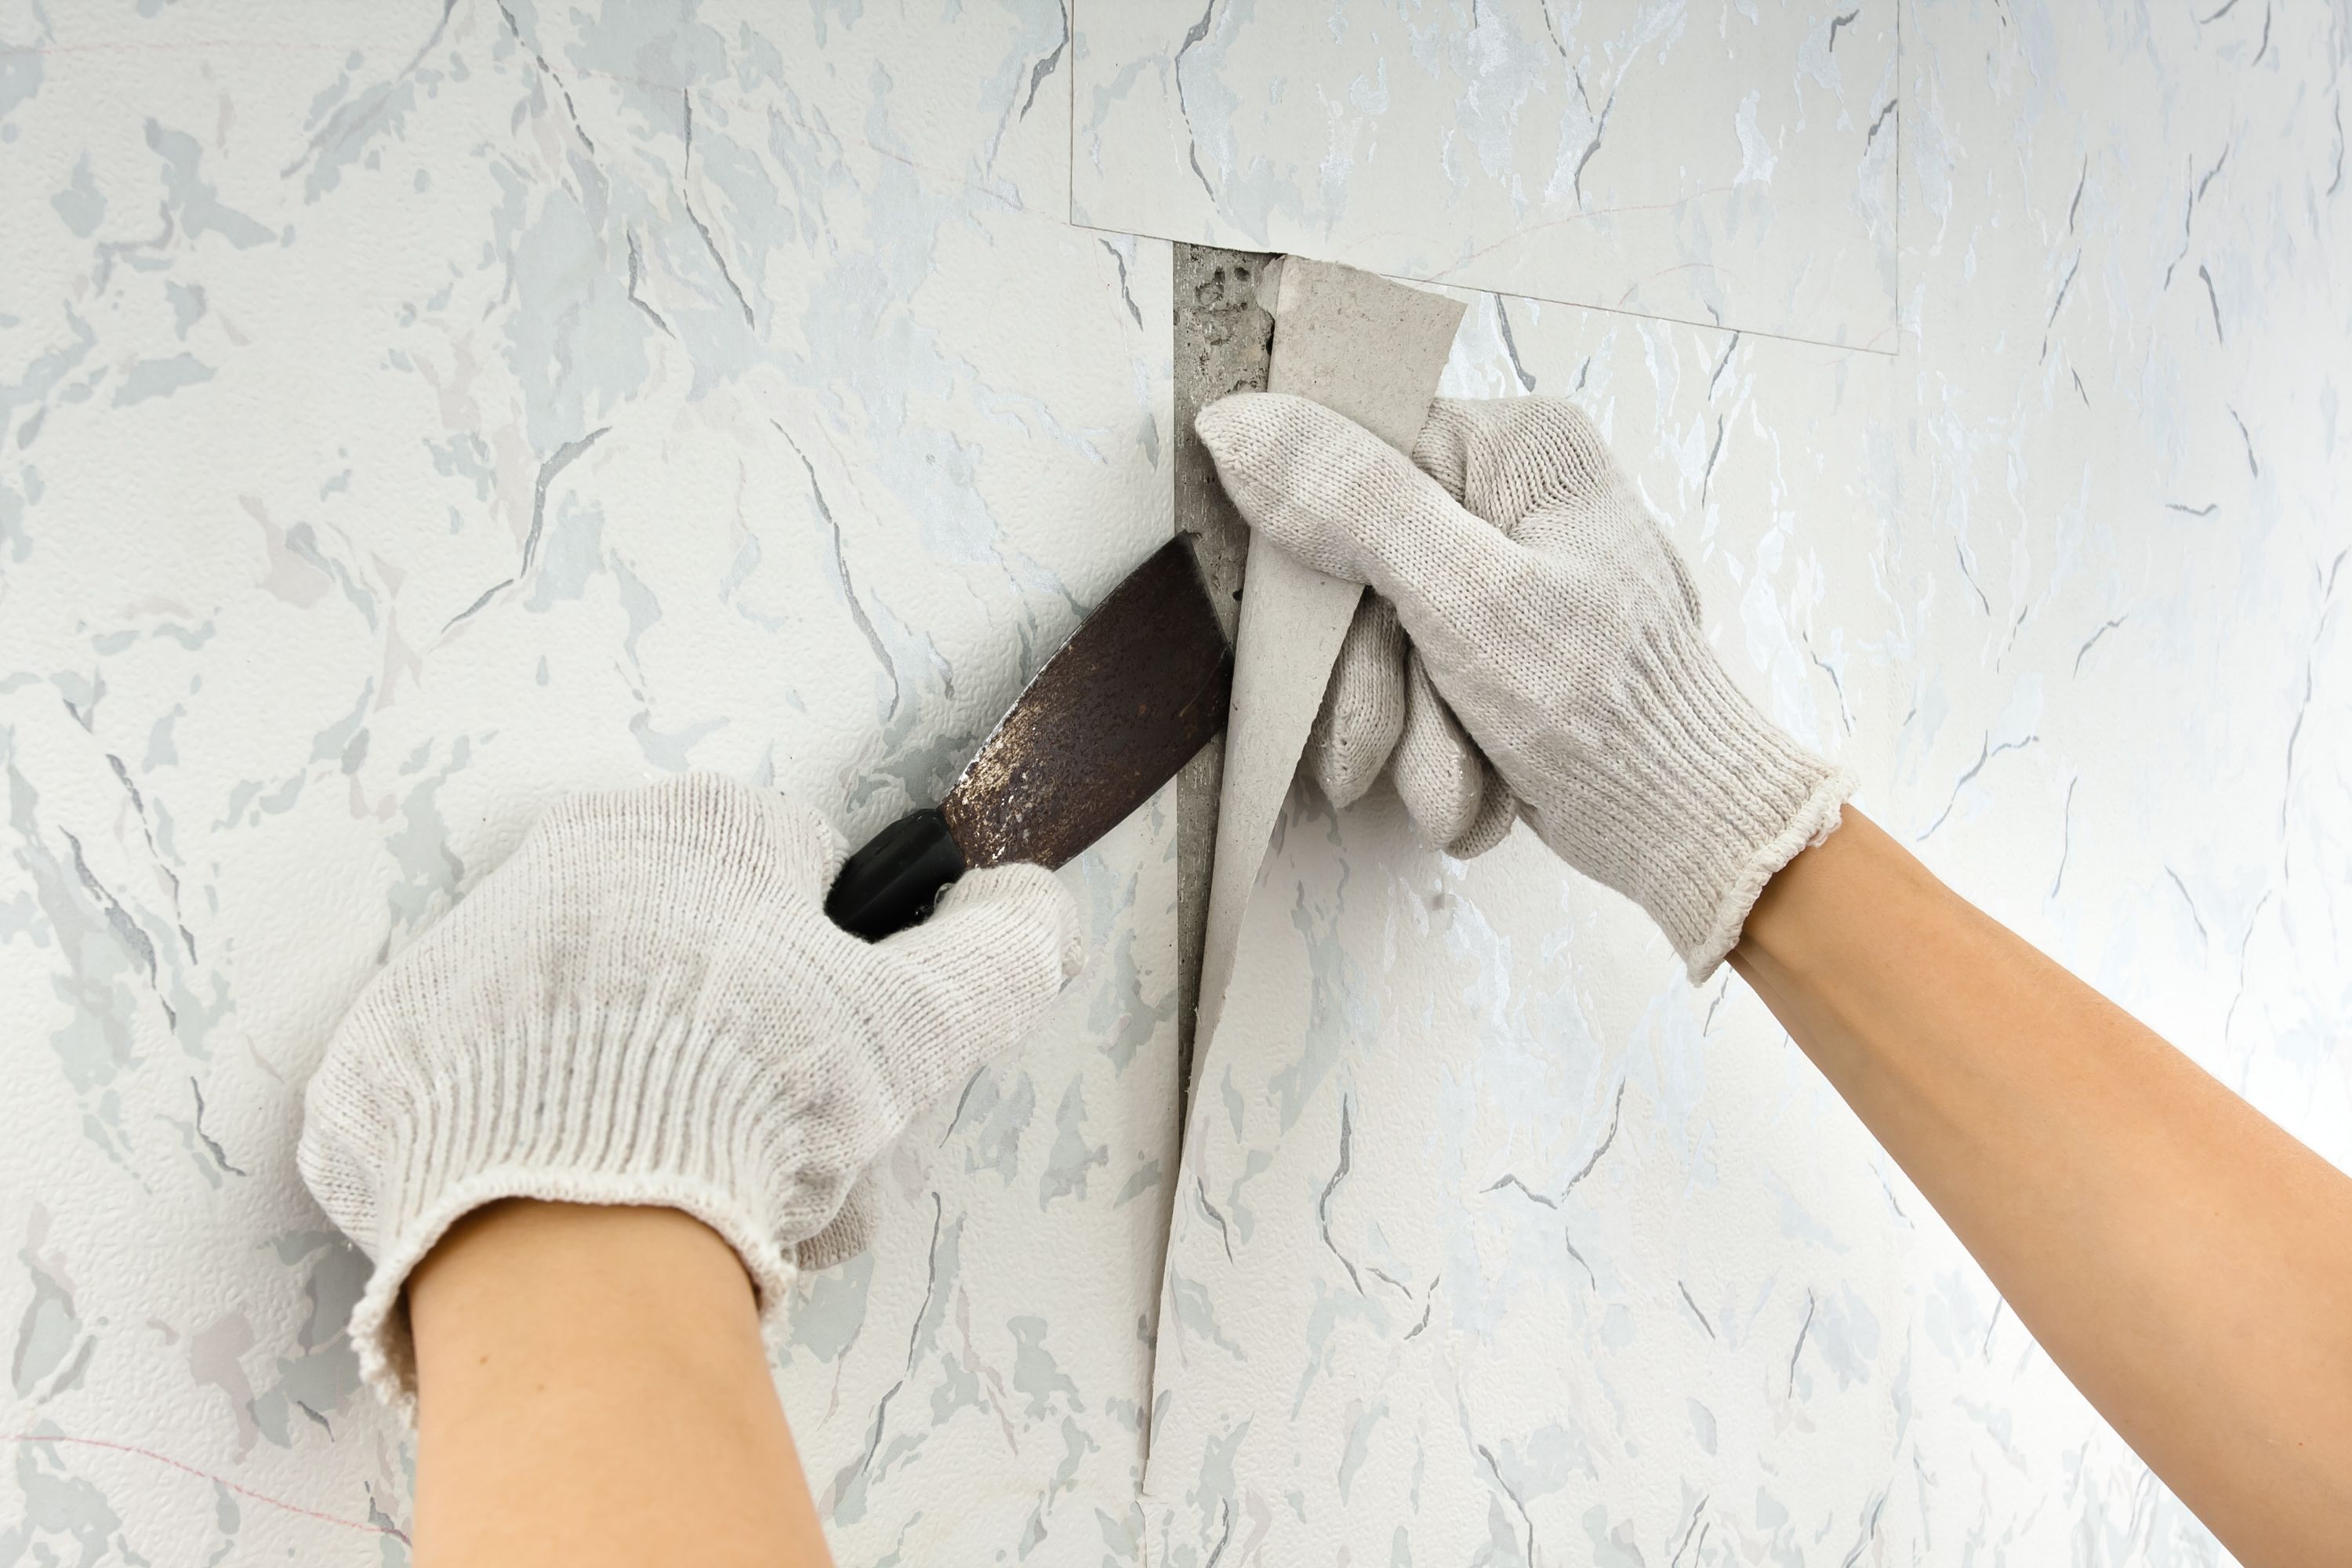
Preparation is key to a successful installation. Begin by removing any old hardware carefully. Use your screwdriver to take out screws without damaging the surface. If you encounter resistance, apply some gentle pressure while turning.
Marking and Measuring
Accurate measurements are essential for aligning your new hardware correctly. Use a measuring tape to determine the precise location for each piece of hardware. Mark these spots with a pencil to guide your installation. For uniformity, ensure all measurements are consistent across similar pieces, like cabinet doors or drawers.
Installing Your Hardware
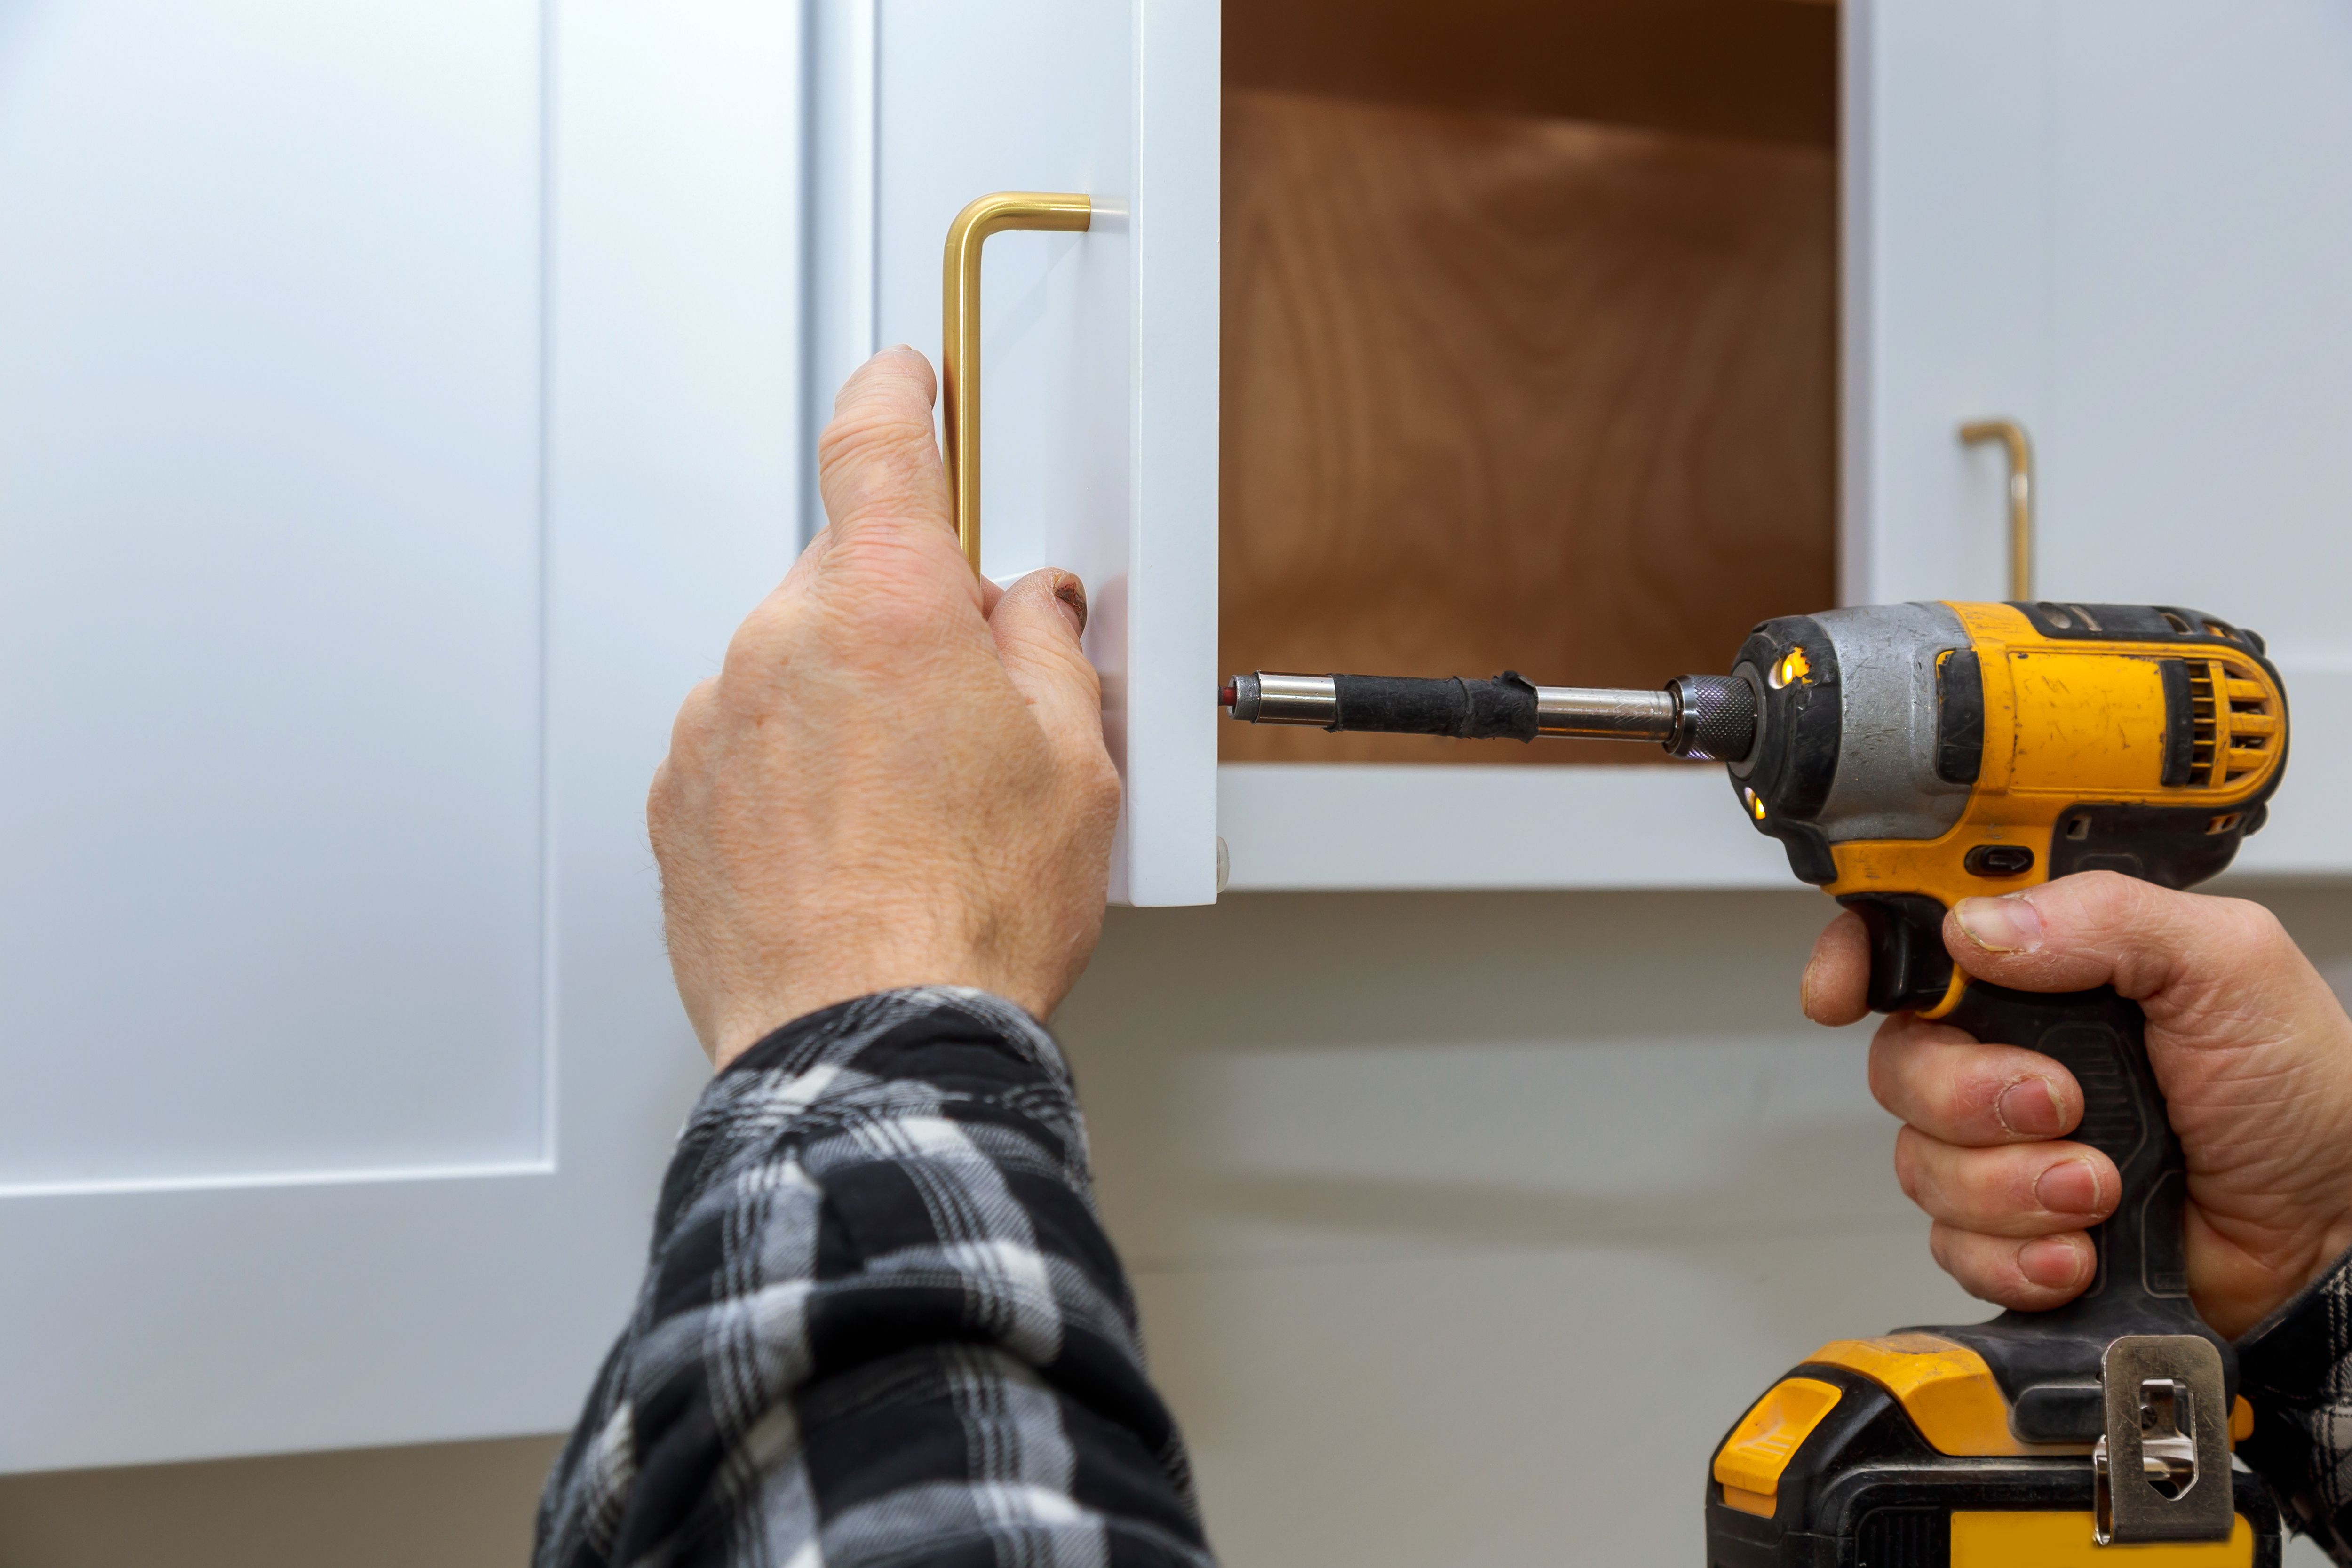
With your markings in place, it's time to drill pilot holes. This step prevents the wood from splitting and makes it easier to insert screws. Choose a drill bit slightly smaller than the screws provided with your hardware.
Once the pilot holes are ready, align the hardware with your markings. Use a level to confirm that handles or knobs are straight before securing them in place. Tighten screws just enough to keep the hardware secure without stripping them.
Final Touches and Adjustments
After installation, step back and inspect your work. Ensure everything is aligned and functioning smoothly. If any adjustments are needed, loosen the screws slightly, reposition the hardware, and retighten.
For a professional finish, wipe down each piece of hardware to remove fingerprints or dust accumulated during installation. This final step will leave your newly installed hardware looking pristine.
Maintenance Tips
To keep your interior hardware in top condition, regular maintenance is essential. Clean metal surfaces with a soft cloth and mild soap or a specialized cleaner. Avoid abrasive materials that can scratch the finish.
If you notice any loose screws over time, retighten them to maintain stability. Regular checks will help prolong the lifespan of your hardware, ensuring it remains functional and attractive for years to come.