DIY Tips: Installing Interior Hardware Like a Pro


Understanding Interior Hardware
When it comes to home improvement, installing interior hardware can make a significant difference in both functionality and aesthetics. Whether you're updating door handles, cabinet knobs, or drawer slides, doing it yourself can be both rewarding and cost-effective. Understanding the different types of hardware and how they fit into your home is the first step towards a successful project.
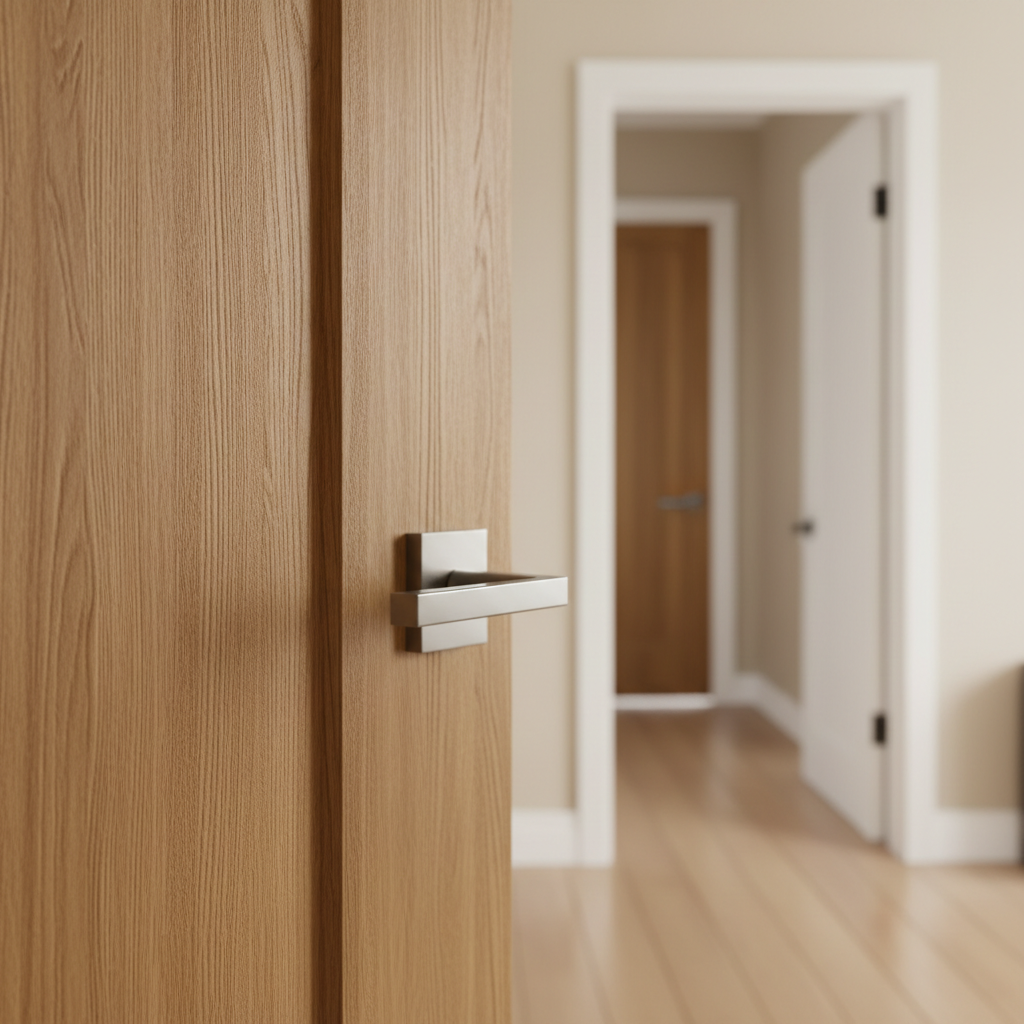
Interior hardware includes a variety of components such as door handles, hinges, cabinet pulls, and more. Each type serves a distinct purpose, and choosing the right one can enhance the overall look and feel of a space. Knowing the materials and finishes available will help you make the best choice for your home.
Gathering Your Tools and Materials
Before you start any DIY project, it's important to gather all the necessary tools and materials. This will save you time and prevent unnecessary trips to the hardware store. For installing interior hardware, you'll typically need a screwdriver, measuring tape, level, and possibly a drill. Additionally, make sure to have the hardware and any screws or bolts that come with it.
It's also a good idea to have a pencil and notepad handy to jot down measurements and notes. Ensuring you have everything ready before you begin will make the installation process smoother and more efficient.
Preparation and Planning
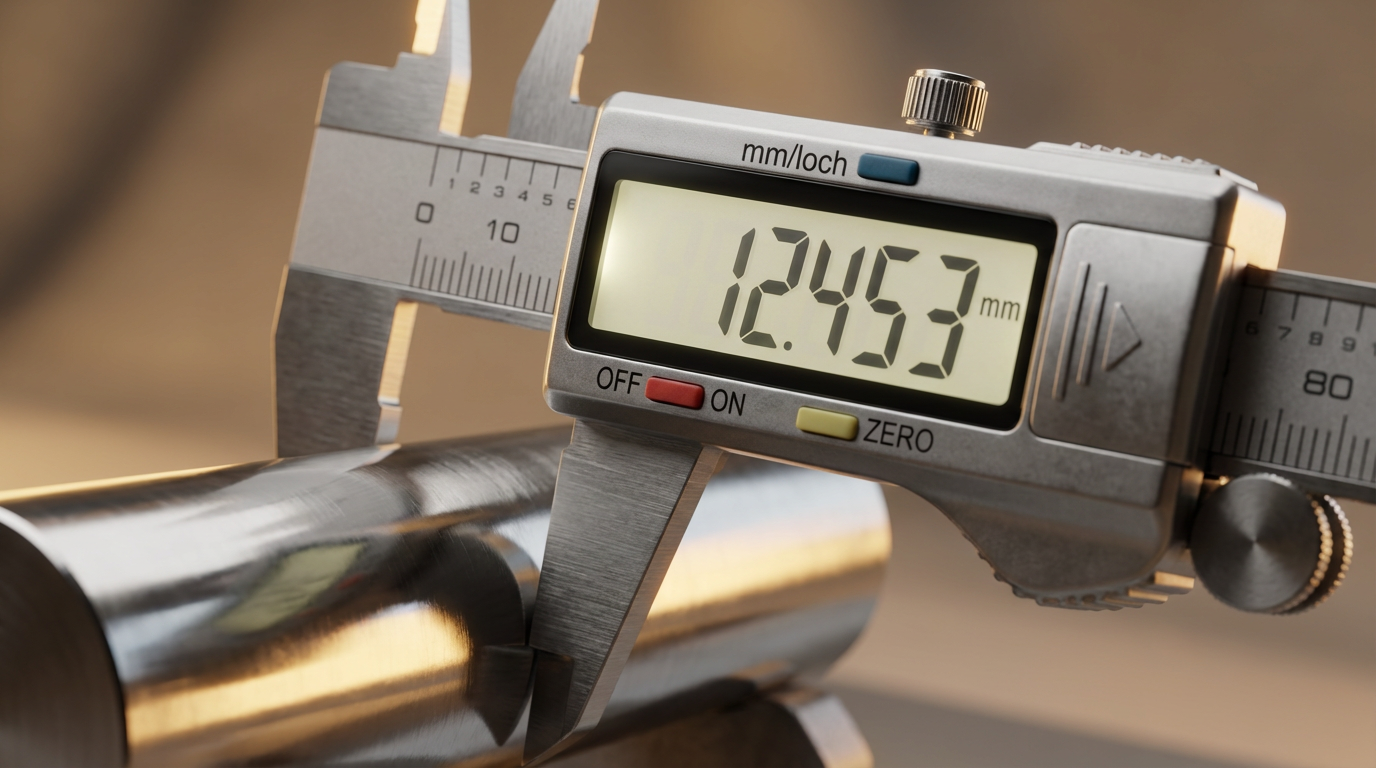
Proper preparation is key to a successful installation. Begin by measuring the space where the hardware will be installed. Accurate measurements will ensure that everything fits perfectly and functions as intended. If you're installing multiple pieces, such as cabinet pulls, make sure to mark the placement for consistency.
Consider the style and finish of the hardware in relation to the rest of your interior. Coordinating these elements will create a cohesive look. Take the time to plan out your approach, especially if you're working on a larger project.
Step-by-Step Installation Guide
Once you're ready to begin, follow these steps for a successful installation:
- Mark the Position: Use a pencil to mark where each piece of hardware will be installed. Double-check measurements to ensure accuracy.
- Drill Pilot Holes: If necessary, drill small pilot holes for screws. This will prevent the wood from splitting and ensure a secure fit.
- Attach the Hardware: Align the hardware with the marks and attach it using screws. Use a level to ensure everything is straight.
Take your time with each step to ensure precision and quality. Rushing can lead to mistakes that may be difficult to fix later.
Finishing Touches
After installation, give everything a final check. Make sure all screws are tightened and that the hardware functions properly. Clean any pencil marks and debris left from drilling.

You might also want to polish the hardware to give it a gleaming finish. A little attention to detail can make a noticeable difference in the overall appearance.
Common Mistakes to Avoid
Even seasoned DIY enthusiasts can make mistakes. Here are some common pitfalls to watch out for:
- Skipping measurements, leading to misaligned hardware.
- Using the wrong tools, which can damage both the hardware and the surface.
- Over-tightening screws, which can strip them or damage the hardware.
Avoiding these mistakes will ensure a smoother process and a more professional outcome.
Conclusion
Installing interior hardware doesn't have to be daunting. With the right tools, preparation, and attention to detail, you can achieve a professional-looking result that enhances your home's interior. Embrace the process and enjoy the satisfaction of completing a DIY project that adds value and style to your space.